
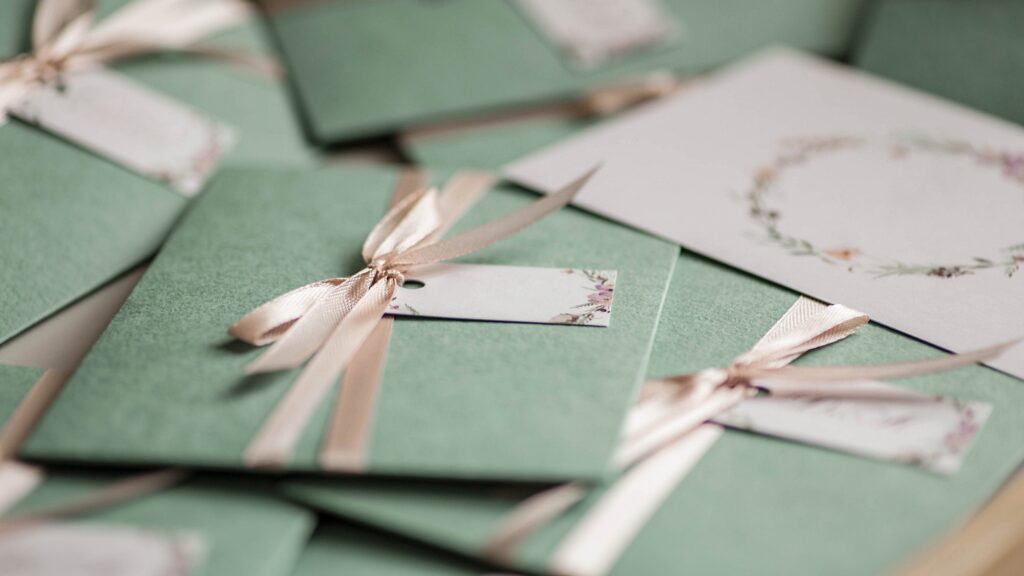
If you are trying to figure out how to print Canva invitations, the design part is usually the fun part. The print part is where people start second-guessing everything. The colors looked softer on your screen. The text felt centered until you noticed it riding a little too close to the edge. And suddenly a simple invitation has turned into a small stress project.
That is why this workflow makes sense. Use Canva for the design, because it is fast, visual, and easy to work in. Then use PrintInvitations for the printing, because printing is where paper, finish, trimming, proofs, and file setup actually matter. In my opinion, that split is one of the cleanest ways to get a good result without making the whole process harder than it needs to be.
This is especially true for wedding invitations. You want control over fonts, layout, color, and photos. But you also want the finished piece to feel good in hand, print clearly, and arrive looking intentional instead of homemade in the wrong way. Canva handles the creative side well. PrintInvitations handles the production side well. Put those together and the process gets much easier.
Why Canva plus PrintInvitations is a practical workflow
Canva is good for building the look. You can test fonts, move elements around quickly, compare color versions, and work from templates or a blank file. For most couples, that is plenty. You do not need advanced design software just to make a clean, polished wedding invite.
But design software and print production are not the same thing. That is where people get tripped up. A file that looks good on screen still has to survive export settings, trimming, ink, paper, and finishing. That is where a real printer matters.
PrintInvitations is set up for that part of the job. The site currently lets you upload your own design, review free digital proofs, and choose paper and finish options that fit the event. It also supports the rest of the suite, including wedding invitations, save the dates, RSVP cards, details cards, and thank you cards. So you are not designing one isolated card and then improvising the rest later.
Start your Canva design with print in mind
The easiest way to print Canva invitations well is to design them like they are going to be trimmed by a real printer, because they are.
That means two things right away. First, choose the correct card size at the beginning. Do not design a general canvas and assume it can be resized cleanly later. Second, leave breathing room around your text and important design elements. Names, dates, RSVP lines, and venue details should not be floating near the edge just because it looked balanced on your laptop.
Background color or artwork that is meant to run to the edge should extend fully to the edge of the design. Important details should stay comfortably inside. That one habit prevents a lot of bad surprises.
And keep the design readable. Canva gives you a lot of font choices, which is both helpful and a little dangerous. One script font can look elegant. Three script fonts start feeling like punishment. Clear type wins. That is true on screen, and it is even more true in print.
Build a Canva file that is easy to print
A clean file usually prints better than a clever file.
If you are making a front and back invitation, keep the front and back organized as separate pages in the same file. If you are creating a full suite, keep each card as its own clearly labeled design or export group. Wedding planning already has enough chances to make you wonder whether you named the right file. Do not add to the pile.
Photos should be sharp, not stretched, and not pulled from tiny screenshots. Pale text on pale backgrounds should be tested carefully. Very thin fonts and super-light gray text may look refined on screen and then feel weaker in print than you expected. Same with very dark background designs. They can look great, but they ask more from the file and the print setup.
If you are also building inserts, this is the stage where it helps to think about information hierarchy. The main invitation should stay readable. Extra details can go on a details card. RSVP instructions should be obvious, not tucked into a decorative corner.
How to print Canva invitations without file problems
This is the part people skip, and it is the part that matters.
When your design is done, export it for print, not for casual sharing. The current Canva and Printed.com guidance points to the same basics. Use PDF Print, turn on crop marks and bleed, and switch the color profile to CMYK before you send the file off for production. That is the setup most likely to give you a cleaner print-ready file.
Here is the short version:
- Download as PDF Print
- Turn on Crop marks and bleed
- Use CMYK
- Double check page order if your file has multiple pages
- Review the PDF before uploading it
That does not sound dramatic, but this is the difference between a file prepared for print and a file that simply exists.
If you have ever wondered how to print Canva invitations and keep them from coming back with awkward white edges or color shifts, this is the answer. The export settings matter.
Why PrintInvitations makes sense for the printing step
Once the Canva file is ready, PrintInvitations is the part that turns it into an actual invitation people can hold.
The current site flow is straightforward. You can start with a template or upload your own artwork, then choose the paper and finish that fit your event. PrintInvitations also highlights free digital proofs, fast turnaround, and quality printing, which is exactly what you want after doing your own design work. If you took the time to build the invitation in Canva, you probably do not want to guess what it will look like before print.
That proofing step matters. It gives you one more chance to catch names, dates, spacing, and layout issues before the order is final. And for wedding pieces, that is not a small thing.
PrintInvitations also gives you more flexibility on the physical side of the card. The site currently lists smooth stocks, heavier cardstocks, felt stocks, eggshell stocks, and pearlescent stocks. That is useful because the same Canva design can feel very different depending on what it is printed on.
Choosing the right paper for a Canva-designed invitation
This is where the invitation stops being a file and starts becoming an object.
Here is a simple way to think about it:
| If your Canva design looks like this | Paper direction that usually fits |
|---|---|
| Clean layout, modern type, sharp edges | Smooth stock |
| Formal, heavier, more substantial feel | Heavier cardstock |
| Romantic, classic, floral, slightly tactile | Felt stock |
| Clean but not too flat, with subtle texture | Eggshell stock |
| Dressier, soft shimmer, elegant details | Pearlescent stock |
Smooth stock is usually the safest pick for minimal or modern invitations. It keeps text crisp and clean. Felt works well when you want softness and a more traditional or romantic character. Eggshell is a nice middle ground. Pearlescent gives you a little shimmer without going over the top. And if you want the invitation to feel more substantial right away, heavier cardstock helps.
This is also why using PrintInvitations after Canva makes sense. Canva helps you build the visual system. PrintInvitations helps you match that visual system to the right physical stock.
Common mistakes to avoid
A lot of Canva invitation problems are not really Canva problems. They are setup problems.
One common mistake is exporting the wrong file type. A regular PDF or image file can be fine for casual use, but invitations should be exported for print. Another mistake is forgetting bleed and crop marks, especially when the design has a full background color or border.
Another issue is designing too close to the edge. Even a beautiful layout can look off if the trim gets slightly tight around the text. And then there is color. Screen color is not print color. That does not mean your invitation will look bad. It means you should stop expecting your phone screen to act like paper.
And finally, proof the thing. Proof the names. Proof the date. Proof the venue. Proof the RSVP line. Then step away for ten minutes and proof it again. Wedding invitations are one of those places where tiny errors feel much bigger once they are printed fifty or a hundred times.
The workflow that actually works
If you want the shortest usable answer, it is this.
Design in Canva. Keep the layout clean. Export as PDF Print. Turn on crop marks and bleed. Use CMYK. Upload the file to PrintInvitations. Choose paper and finish based on the style of the design. Review the digital proof. Then print.
That is really the whole process.
Once you understand how to print Canva invitations, it stops feeling mysterious. It becomes a sequence. Canva handles the design freedom. PrintInvitations handles the production details that make the invitation feel finished.
Conclusion
A lot of invitation advice gets too abstract. This workflow does not need to be.
Use Canva because it makes designing approachable. Use PrintInvitations because printing is not only about the artwork. It is also about proofs, paper, trimming, finish, and how the piece feels once it is in someone’s hand.
If you are designing your own wedding stationery, that combination is a strong one. You get creative control without having to print at home, cut stacks yourself, or guess whether the final card will actually feel polished. And honestly, that is the part most people want. A design they made themselves, printed in a way that still looks put together.