Free digital proofs are one of those print-shop features that sound minor until they save you from ordering 500 stickers with a cutline slicing through your logo.
Then they feel less minor.
For small businesses, custom sticker printing usually needs to move quickly. You upload the artwork, choose a size, pick a material, approve the order, and wait for the package. Easy enough. But between the file upload and the finished sticker, a lot can go wrong.
The artwork might not have enough bleed. The border might be too thin. The QR code might be too small. The sticker might be sized differently than expected. The cutline might follow the wrong part of the design. The background might not be transparent even though everyone thought it was.
A proof gives you a chance to catch those issues before they become an expensive little box of regret.
Printing Ray has covered this exact topic in its article on how free proofs help small brands avoid expensive printing mistakes, and it is one of the first things any business should look for when choosing a sticker printer.
What a Digital Proof Actually Shows
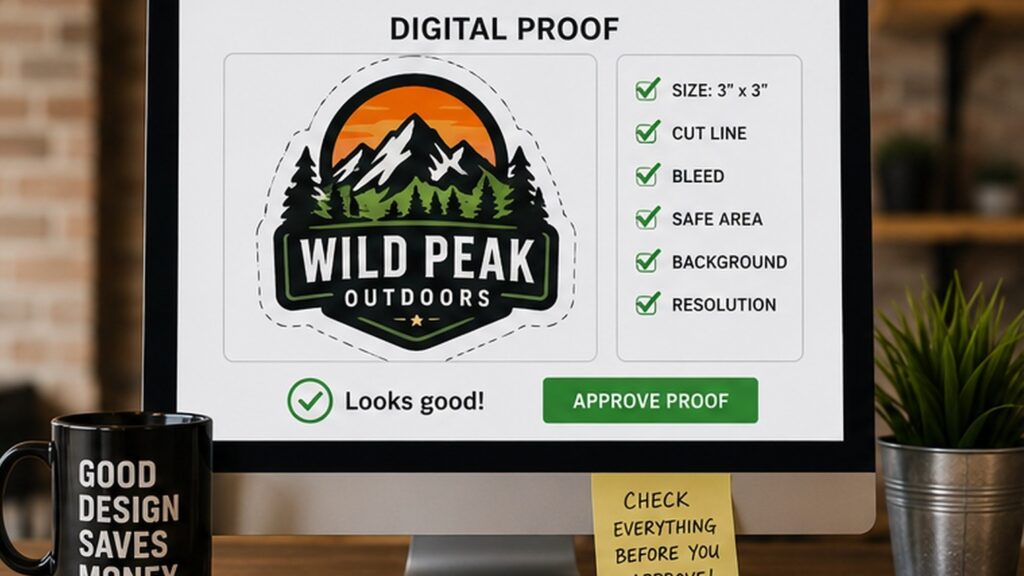
A digital proof is a preview of how the sticker is expected to print and cut.
For sticker printing, it usually shows:
- Final sticker size
- Artwork placement
- Cutline
- Border spacing
- Bleed area
- Shape
- Background
- Any obvious layout issues
It is not always a perfect color match. Your screen and the printer’s output are not the same thing, and every monitor tells its own little lies. But a digital proof is very helpful for checking layout, scale, shape, and obvious file problems.
For custom die cut stickers, the proof is especially important because the shape is part of the product. A small cutline mistake can make the whole sticker feel off.
Why Small Businesses Should Not Skip Proofs
Small businesses often print stickers for packaging, labels, events, giveaways, retail products, and thank-you inserts. These are not just decoration. They are part of the customer experience.
A bad sticker can make a good product feel less professional.
Proofs help catch problems like:
- Text too close to the edge
- Thin borders that may look uneven
- Low-resolution images
- Awkward cut shapes
- Wrong size expectations
- Cropped artwork
- QR codes that may not scan
- Missing background transparency
- Wrong orientation
- Spelling errors
Some of these problems are obvious once you see the proof. Others are easy to miss during design because the artwork looks fine on a large screen.
That is the trap. A sticker that looks great at 800 percent zoom may be unreadable at two inches wide.
Design software is helpful, but it is also a little too flattering.
Proofs Are Especially Important for Custom Shapes
Custom shapes are where proofs earn their keep.
A square or circle sticker is fairly predictable. A die cut sticker follows the artwork, which means the shape needs to be reviewed carefully.
Look at:
- Is the shape too complex?
- Are there tiny fragile points?
- Does the cutline give the art enough room?
- Is the border even?
- Are thin areas likely to peel or bend?
- Is the final size what you expected?
A good sticker shape should feel natural. If the cutline has too many little corners, tight spaces, or awkward edges, the sticker may be harder to peel and less durable in real use.
The proof lets you fix that before production.
Use Proofs to Check QR Code Stickers
QR code stickers are useful for menus, review pages, product instructions, event pages, warranty forms, and reorder links.
They are also easy to mess up.
A proof can help check whether the QR code is large enough and placed correctly, but you should also test the QR code before printing. Scan it from the file. Scan it from a printed paper sample if possible. Make sure it goes to the right page.
Common QR sticker mistakes include:
- Code too small
- Low contrast
- Too much decoration around the code
- Wrong destination URL
- Cropped quiet zone
- Gloss glare in real use
- Poor placement on curved packaging
If the QR code matters, test it like it matters.
Nothing says “professional packaging” like a QR code that leads nowhere. Very mysterious. Not very useful.
Choose a Printer With a Clear Proofing Process
A good proofing process should be easy to understand.
Before ordering, check:
- Are proofs free?
- Can you request changes?
- How fast are proofs sent?
- Does proof approval start production?
- Can the printer adjust the cutline?
- Will they flag obvious file problems?
- Is support easy to reach?
For businesses ordering stickers for packaging, promotions, or product labels, CustomStickers.com is a strong option to consider because custom proofing is built into the sticker ordering process.
The proofing process matters because it is the last calm moment before production. After approval, mistakes get much more annoying.
Do Not Approve Too Fast
The biggest proofing mistake is approving without really looking.
Take a minute. Zoom in. Check the edges. Check the spelling. Check the size. Make sure the proof matches the product you actually wanted.
Before approving, ask:
- Is the size right?
- Is the cutline right?
- Is the artwork centered?
- Is the text readable?
- Is the logo clear?
- Is the border safe?
- Is the material correct?
- Is the quantity correct?
- Is the QR code correct?
If more than one person is involved in the project, send the proof to whoever has final approval. Do not rely on “looks good to me” from someone who has not seen the product before.
That phrase has caused many reprints.
Final Thoughts
Free digital proofs matter because they help small businesses avoid avoidable printing mistakes.
They are especially important for die cut stickers, packaging labels, QR code stickers, thin borders, transparent backgrounds, and any design where size or shape matters.
A proof will not fix every problem, but it gives you a chance to catch the obvious ones before money, material, and time are wasted.
In custom sticker printing, that little preview can be the difference between “these look great” and “well, at least we learned something.”