
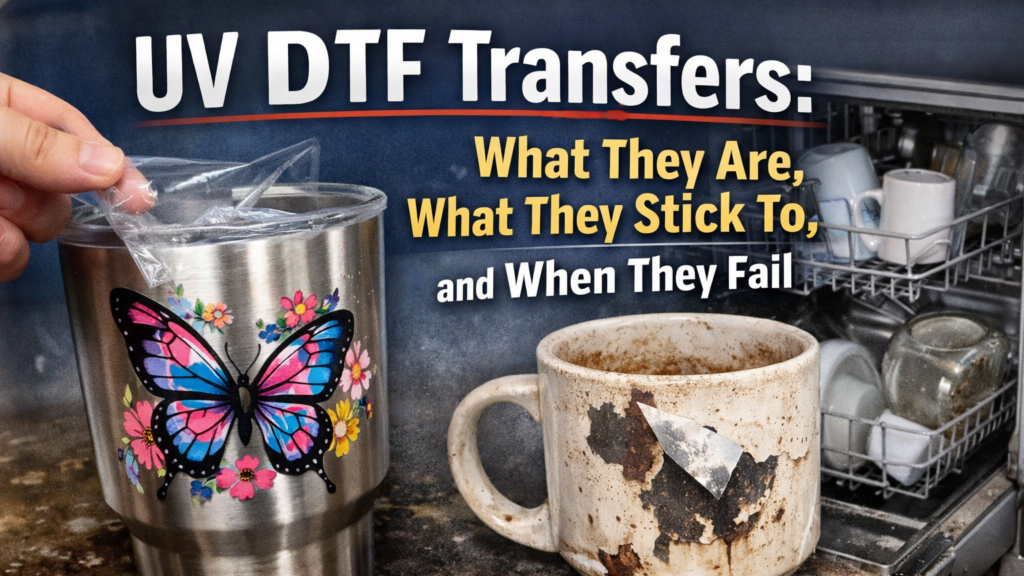
You’ve probably seen them: a perfect full-color decal gets slapped onto a tumbler in ten seconds, no heat press, no weeding, no fuss. TikTok and Etsy are full of “UV DTF” videos like that.
Then real life happens.
A week later the edges lift. The dishwasher finishes it off. Or the design looks great… until it hits a textured powder coat and starts peeling in tiny shards.
This guide is the straight version of UV DTF transfers: what they are, what they actually bond to, how long they need before use, and the most common reasons they fail.
What UV DTF transfers are and why they’re everywhere
UV DTF stands for UV direct-to-film, but the important part is this: it’s basically a premium “rub-on” style decal made with UV-cured inks and a pressure-sensitive adhesive layer.
Instead of printing directly onto the final product (like a flatbed UV printer would), the design is printed onto a film first, then transferred onto the item. Many workflows use a two-film A/B setup (often called A film + B film). The transfer is applied with pressure, not heat. That’s why it’s so popular for drinkware and hard goods: you can decorate a ton of items quickly without a press or special blanks.
Also worth clearing up: UV DTF is not the same as DTF for shirts. Regular DTF (for apparel) is designed to be heat pressed, usually with adhesive powder and a curing step. UV DTF relies on UV curing during printing and then pressure during application.
A/B film, pressure-sensitive adhesive, and why pressure matters
If you’ve ever applied a “sticker” and it fell off even though it seemed fine at first, you’ve already met the enemy: poor wet-out.
Most UV DTF transfers behave like a pressure-sensitive adhesive (PSA) system. PSAs don’t “dry” like glue. They bond when you press them onto a surface so the adhesive can flow into the microscopic peaks and valleys and make real contact. Industry adhesive folks call that contact wet-out, and it’s a huge reason why burnishing matters.
That’s also why you’ll see better results when you:
- apply at room temperature
- use firm, even pressure
- pay extra attention to thin lines and edges
- avoid touching the adhesive after cleaning the surface
In an A/B film setup, you’re also relying on the films to release cleanly. If you peel too fast, peel at a weird angle, or start lifting the design before it’s fully pressed down, you can tear tiny elements or pull up corners.
Best surfaces for UV DTF transfers
UV DTF is happiest on hard, smooth, non-porous surfaces. If a surface feels slick and cleanable, it’s usually a good candidate.
In the real world, the best results tend to be:
- Glass (cups, jars, mirrors)
- Stainless steel tumblers and smooth metal containers
- Acrylic and many rigid plastics (sign blanks, cases)
- Ceramic mugs and tiles
- Sealed wood (not raw wood) and coated surfaces
A lot of “it looks amazing” videos are showing these exact materials. They’re smooth, they don’t absorb moisture, and they let the adhesive fully contact the surface.
One nuance: some sellers and equipment companies say UV DTF bonds well even to certain powder-coated drinkware (especially when it’s smooth). Others warn that powder coat is risky. Both can be true depending on the coating chemistry and texture. If the powder coat is slick and tight, you can get a solid bond. If it’s textured or “soft-touch,” you’re stacking the odds against yourself.
Surfaces that cause failure: silicone, texture, oils, and low-energy plastics
Most UV DTF failures come from one of two problems:
- the surface wasn’t really clean, or
- the surface is the wrong type for that adhesive
Here are the common “looks great for a week” surfaces:
Silicone, rubber, and soft-touch coatings
These are classic low-adhesion surfaces. Some adhesives can bond to silicone, but most “label style” acrylic PSAs struggle unless they’re engineered specifically for it.
Heavily textured finishes
Texture creates air gaps. Air gaps become weak points. Weak points become edge lift.
Greasy, waxed, or residue-coated items
Hand oils, mold-release agents on plastics, wax polishes, and even some dish soaps can leave films behind. If you don’t remove them, the adhesive bonds to the residue, not the product.
Low surface energy plastics (often PP/PE)
Some plastics are just hard to stick to. Adhesive and label industry guidance is pretty blunt about it: many acrylic PSAs don’t love low-surface-energy substrates unless they’re modified specifically for that job. That’s why two plastics that “feel the same” can behave completely differently.
Unsealed porous materials
Raw wood, unfinished concrete, unglazed ceramic, anything dusty or absorbent. UV DTF is not a soak-in coating. It needs surface contact.
Application basics that actually change the outcome
Most people don’t mess up the “sticker part.” They mess up the prep and pressure part.
Here’s the short version of what matters:
Clean like you mean it.
Use isopropyl alcohol and a lint-free cloth. Let it dry fully. Avoid touching the area again with your fingers.
Apply slowly, not bravely.
On flat items, start from the center and press out. On curved items like tumblers, start from one side and work across so you don’t trap air.
Burnish edges like they’re the whole job.
Most peeling starts at edges, thin lines, and little sharp corners. If you press those down hard at the start, you prevent the failure that shows up days later.
Peel low and slow.
A low-angle peel reduces stress on small details. If something lifts, stop and burnish again before continuing.
And if you’re doing wraps on drinkware, don’t be afraid to break big designs into smaller decals. A single giant piece has more opportunities to trap air and lift along the curve.
Cure time, washing, and the dishwasher reality
This is where expectations get people.
UV DTF inks are “cured” during printing with UV light. But the adhesive bond still benefits from time. Many suppliers recommend letting an applied transfer sit for at least 24 hours before heavy handling or washing.
Now the dishwasher question.
A home dishwasher is rough on anything that relies on adhesive:
- Hot wash water and heated dry cycles
- Detergents designed to break down grease (which can also attack some adhesives over time)
- High-pressure spray, impacts from other dishes, and repeated thermal expansion/contraction
Even basic appliance guidance shows that residential dishwashers commonly run hot (often around the 130–140°F range, with some cycles going higher), and sanitizing options push hotter still. That heat + detergent + repeated cycles is exactly the combo that exposes weak adhesion at the edges.
So what’s the honest advice?
If you’re decorating drinkware for yourself, or selling it, the safest position is:
- wait 24 hours before washing
- hand wash for longest life
- avoid abrasive scrubbing over the design
- if you test in a dishwasher, assume “it survived 3 cycles” is not the same as “it’s dishwasher-proof forever”
Some UV DTF decals absolutely can survive dishwashers for a while. But the failure mode is predictable: edges lift first, then water and detergent work underneath, then the decal goes cloudy, cracks, or peels.
Common UV DTF problems: what causes them and how to prevent them
Edge lifting after a few days
This is almost always surface prep, pressure, or the wrong substrate. It’s also common when the item was cleaned, then touched with fingers again. Oils don’t look like anything… until the decal starts peeling.
Air bubbles under the design
Usually from applying too fast, or trying to “wrap” a large piece around a tight curve. Small bubbles can sometimes be saved if you catch them early and press out carefully. But preventing them is easier than fixing them.
The design lifts when you peel the carrier
That’s a peel-angle and burnish issue most of the time. Slow down, peel low, and make sure the design is pressed down fully before you try to remove the top layer.
Scratching and fading
UV DTF can be very durable, but it’s still a surface-applied decoration. If it’s on a spot that gets scraped constantly (think: the side of a cup that rides against car cup holders, or the bottom of a toolbox drawer), it will wear faster.
“It looked perfect for a week”
That one is usually a mismatch between expectations and environment. A decal can look fine until the first few real stress tests: hot water, steam, detergents, abrasion, and repeated handling.
If you sell UV DTF-decorated items, the best way to reduce returns is to include a simple care message: “hand wash recommended,” “avoid abrasive scrubbers,” and “wait 24 hours before washing.”
When UV DTF is the wrong tool
UV DTF is great, but it’s not magic.
If you need true long-term permanence in harsh wash conditions, consider options built for that:
- Sublimation on proper coated blanks (for drinkware designed for it)
- Direct UV printing (when the object is flat enough and you control the ink + adhesion system)
- Traditional vinyl (still useful when you need simple shapes and removable/repositionable performance)
The real win is picking the right method for the surface and the use case. UV DTF shines when you want fast, full-color decoration on smooth hard goods with minimal equipment. It struggles when the surface is textured, oily, soft-touch, or frequently abused by heat and detergent.
Conclusion
UV DTF transfers are popular because they solve a real problem: full-color hard-goods decoration without a press, weeding, or complicated setup. But they’re not “stick to anything forever” decals.
If you remember three things, remember these:
Clean the surface properly. Press harder than you think you need to. And give it time before washing.
Do that, and UV DTF stops being a TikTok trick and becomes a reliable production tool.
