TLDR
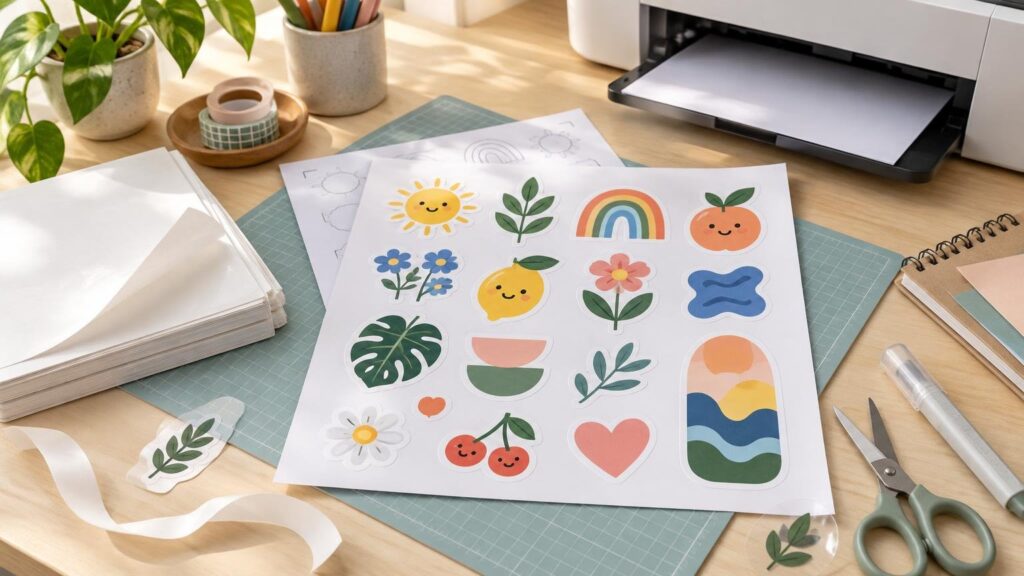
A regular home printer can make stickers if you use printable sticker stock designed for that printer type. The safest workflow is to confirm compatibility, prepare the design at its final size, print a test on ordinary paper, and then print one sticker sheet using the material maker’s recommended settings. You can cut the result with scissors, a craft knife or a compatible cutting machine.
Learning how to print stickers at home is less about finding one perfect printer setting and more about controlling a few variables. Your printer, ink or toner, printable stock, artwork, feed path and cutting method all affect the result. Change one variable at a time, beginning with the least expensive step: a plain-paper test.
What you need to print stickers at home
- A color inkjet or laser printer in good working order
- Printable sticker sheets explicitly compatible with your printer type
- A design file or page-layout application
- Ordinary printer paper for test prints
- Scissors, a paper trimmer or a craft knife and suitable cutting mat
- Optional: a compatible electronic cutting machine
- Optional: a protective overlay specifically intended for your chosen print and application
You do not need a cutting machine for basic squares, rectangles or loose contour cuts. A machine becomes useful when you want repeated shapes, consistent borders or kiss cuts that leave the liner intact.
Step 1: Match the sticker stock to your printer
Check the printer type before buying printable stock. Inkjet sheets have a surface intended to receive liquid ink, while laser-compatible sheets must tolerate the heat and pressure involved in toner printing. Do not assume a sheet works in both systems. Cricut, for example, identifies its Printable Sticker Paper as inkjet-only and warns against putting that product through a laser printer. Always follow the instructions for your exact material rather than extending one manufacturer’s guidance to another product.
Also confirm that your printer accepts the sheet’s size, thickness and finish. Some desktop printers have tight feed paths or limited support for heavier media. A rear, manual or bypass feed may provide a straighter path when both the printer manual and media instructions allow it. For its own printable sticker paper, Cricut recommends loading one sheet at a time and using a bypass tray when available, but that is a product-specific starting point rather than a rule for every printer.
Be especially careful with dark, highly reflective, holographic and very glossy materials. Some require white ink to produce opaque color, which ordinary home printers generally are not designed to apply. Reflective or glossy surfaces can also interfere with optical sensors used by some cutting workflows.
Step 2: Prepare the artwork at its final size
Set the page to the physical sheet size and place each sticker at the dimensions you intend to cut. Enlarging a small raster image at the last moment can soften edges and text. Logos and simple graphic shapes are often easier to scale cleanly when the original artwork is vector-based. For a deeper file checklist, see how to prepare artwork for sticker printing.
Leave enough room between designs for your cutting method. Scissors need maneuvering space, while a paper trimmer works best with clear straight channels. If you are cutting contours by hand, add a simple outer border. That border gives you a forgiving visual path and makes minor cutting variation less obvious.
- Keep small text readable at the final printed size, not merely while zoomed in on screen.
- Move essential lettering and details away from the intended cut edge.
- Avoid hairline borders that will make small cutting errors look uneven.
- Use a simple shape for your first sheet; intricate corners take longer to cut and are less forgiving.
- Duplicate the finished design only after its dimensions and spacing are correct.
Step 3: Make a plain-paper test print
Print the complete page on ordinary paper before using sticker stock. This catches reversed orientation, unexpected scaling, clipped artwork and designs that are too small to read. Ensure the print dialog is not silently using options such as “fit to page” if you need the artwork to remain at an exact size.
Place the test page over an unused sticker sheet and hold the pair up to a light source, without bending or exposing adhesive. Check whether the design stays inside printable margins and leaves practical cutting space. If you do not know which side of the sheet your printer prints on, mark one face of an ordinary page and run a simple orientation test. Cricut likewise advises checking printer instructions or testing with normal paper to establish the correct loading direction.
Step 4: Load the sticker sheet and choose settings
Identify the printable face from the packaging. Depending on the product, it may be whiter, smoother, glossier or less visibly lined than the backing, but appearance is not a reliable universal test. When the two sides look similar, consult the product instructions.
Select the media or paper type recommended by the sticker-stock manufacturer. That setting is functional: Epson explains that its paper-type selections adjust ink coverage and affect image quality. A generic “plain paper” setting may therefore produce different ink behavior from a photo or presentation-paper setting.
Start with the stock maker’s quality recommendation. Cricut suggests high, best or photo quality for its printable sticker paper, while also noting that reducing print quality can help if excess ink causes smudging. Cricut’s printable sticker paper instructions This illustrates why “maximum quality” is not automatically the right choice for every sheet: it may apply more ink than a particular coating can accept cleanly.
- Remove curled, damaged or dusty sheets.
- Load the printable side in the orientation confirmed by your paper test.
- Use the documented media type and an appropriate quality setting.
- Feed a single sheet first if that is recommended for your printer and stock.
- Print one page, then inspect it before committing more material.
Step 5: Inspect, dry and cut the stickers
Handle the printed surface carefully and follow the material maker’s instructions for drying or curing. Do not stack sheets or add a protective layer until the print is ready for handling. Drying behavior varies with the coating, ink load, humidity and printer system, so a universal waiting time would be misleading.
For hand cutting, use scissors for rounded or irregular contours and a trimmer for straight rows. A craft knife can handle inside corners, but use it only with a proper cutting mat and safe hand placement. Turn the sheet as you cut rather than twisting the scissors sharply around the artwork.
A compatible cutting machine offers another route. Cricut’s Print Then Cut workflow prints the design and sensor marks on a home printer, then uses those marks to guide the cut. Compatibility is not universal: some dark, glossy, reflective or heat-sensitive materials can create limitations, so verify the machine’s supported material and sensor requirements before buying specialty stock.
Choose a cutting format
| Format | What gets cut | Useful for |
|---|---|---|
| Sticker sheet | Individual stickers remain together on a larger sheet or liner | Sets, planners and easy storage |
| Kiss cut | The sticker face is cut while the backing remains intact | Easy peeling and multiple shapes on one sheet |
| Die cut | The sticker and its liner are cut around the outer shape | Individual stickers with a shaped outline |
Cricut uses these same basic distinctions for kiss-cut and die-cut stickers. If you are deciding how the formats should look and handle, compare die-cut, kiss-cut and sticker-sheet formats before laying out the page.
Troubleshooting common home sticker-printing problems
The ink smudges
First confirm that the sheet is intended for your printer and that you printed on the coated side. Then check the selected media type. If the manufacturer allows it, test a lower quality setting or lighter ink application on one sheet. Give the print the specified drying time before touching, stacking or cutting it.
Colors look dull or different
Screens emit light, while printed sheets reflect it, so an exact visual match should not be assumed. Confirm that no draft or economy mode is active, select the appropriate media type and test at final size. The color and transparency of the stock also matter: clear, cream or colored material changes how printed color appears.
The sheet jams or feeds crooked
Stop repeated attempts until you confirm that the printer supports the material. Flatten mild curl only as directed by the stock manufacturer, adjust the paper guides without pinching the sheet, remove extra sheets from the tray, and try an approved manual or rear feed path. Never force thick or adhesive media through an unsupported printer.
The design prints on the backing
Return to the marked ordinary-paper orientation test. Printer feed paths differ, so advice such as “printable side up” cannot apply to every tray and machine.
A cutting machine misses the outline
Check that the entire sensor-mark area printed clearly and was not cropped or scaled. Place the sheet on the cutting mat in the software’s specified orientation. Bright glare, reflective stock, dark material or a dirty sensor may affect detection; use only troubleshooting methods documented for your machine.
When home printing may not be the right fit
Home production works well for prototypes, crafts and small batches. Professional production may be more practical when you need a large quantity, close color control, precise repeated contour cuts, specialty white ink or a material qualified for demanding outdoor or wet conditions. If the time spent printing and cutting exceeds the value of doing it yourself, compare the job with professionally printed custom stickers.
Do not describe a home-printed sticker as waterproof, weatherproof, UV-resistant, dishwasher-safe or permanent unless the specific ink, media, protective layer and intended use support that claim. A clear overlay may improve surface protection, but it does not automatically seal exposed edges or make the adhesive suitable for every environment.
A reliable first-sheet workflow
The simplest way to learn how to print stickers at home is to treat the first sheet as a controlled test. Match the stock to the printer, size the artwork correctly, verify orientation on ordinary paper, select the documented media setting and print one sheet. Inspect it before changing anything. If a problem appears, adjust one variable at a time so you can identify what actually fixed it.
Start with matte or otherwise straightforward printer-compatible stock and simple shapes. Once that combination prints and cuts reliably, you will have a useful baseline for testing gloss, protective overlays or machine-cut contours without wasting an entire pack of material.