TLDR
The best stickers for trade shows have one defined job: attract the right booth visitor, label a sample, reinforce a product message, or create a trackable path for follow-up. Choose a portable format, keep the design readable at its finished size, and confirm the event permits adhesive giveaways. If you add a QR code, give it sufficient clear space and contrast, connect it to a useful landing page, and test both the printed code and its destination before the show.
Start with the job, not the sticker shape
A sticker can be a booth giveaway, but “give away as many as possible” is not much of a campaign. EXHIBITOR recommends connecting promotional items to a defined show objective rather than distributing them without a purpose. Its guidance on purposeful promotional items is a useful starting point for deciding what the sticker should accomplish.
For example, a memorable illustrated sticker may suit a brand-awareness campaign. A small label applied to a sample pouch can identify a product variant. A sticker with a QR code can direct qualified visitors to technical documentation, a show-specific offer, or a demonstration request. These uses require different sizes, materials, layouts, and distribution plans.
| Use | Practical format | Design priority |
|---|---|---|
| Open booth giveaway | Die-cut logo, character, or short slogan | Immediate recognition and visual appeal |
| Sample packaging | Rectangle, circle, or fitted product label | Product identification and legibility |
| Qualified-lead handout | Sticker paired with a card or information sheet | Clear next action and campaign tracking |
| Post-show mailer | Sticker included with a sample or thank-you package | Recall after the event without replacing the follow-up message |
If the campaign needs a broader distribution and measurement plan, this guide to planning promotional sticker campaigns covers the surrounding marketing decisions.
Check the show rules before ordering
Do not assume every venue welcomes adhesive stickers. Some show managers or venues prohibit them because of cleanup concerns, and restrictions may appear in the exhibitor service manual. This is event-specific, not a universal ban. Check the manual and ask the organizer if the wording is unclear.
If loose adhesive stickers are prohibited, alternatives may include applying labels only to your own approved packaging or choosing a non-adhesive handout. Get written confirmation before committing to a large print run.
Design for a crowded booth and a small printed object
A trade show sticker is usually viewed amid signage, products, conversations, and visual noise. Give the design one focal point. A logo, mascot, or short line generally has a better chance of remaining readable than a miniature brochure squeezed onto vinyl.
Judge every element at the sticker’s actual physical size. Adobe identifies 300 ppi as a standard resolution target for high-quality, close-viewed printing, while also distinguishing image PPI from printer DPI. Adobe’s print-resolution guidance explains that relationship. Vector artwork is often preferable for logos and clean graphics because it can be resized without the same pixelation risk, although properly sized high-resolution raster artwork may also work.
Build the file to the printer’s required dimensions, bleed, and safe area rather than inventing universal values. Artwork that runs to the edge needs bleed beyond the trim line, while text and logos should remain safely inside it. Adobe likewise advises following the print provider’s production specifications for trim marks, bleed, and related settings.
Before approving the proof, inspect the finished dimensions, spelling, cut shape, edge treatment, small text, and placement of every important element. A thin border deserves special attention: small cutting variation can make it look uneven even when the sticker remains within production tolerance.
Use packaging stickers to organize the handoff
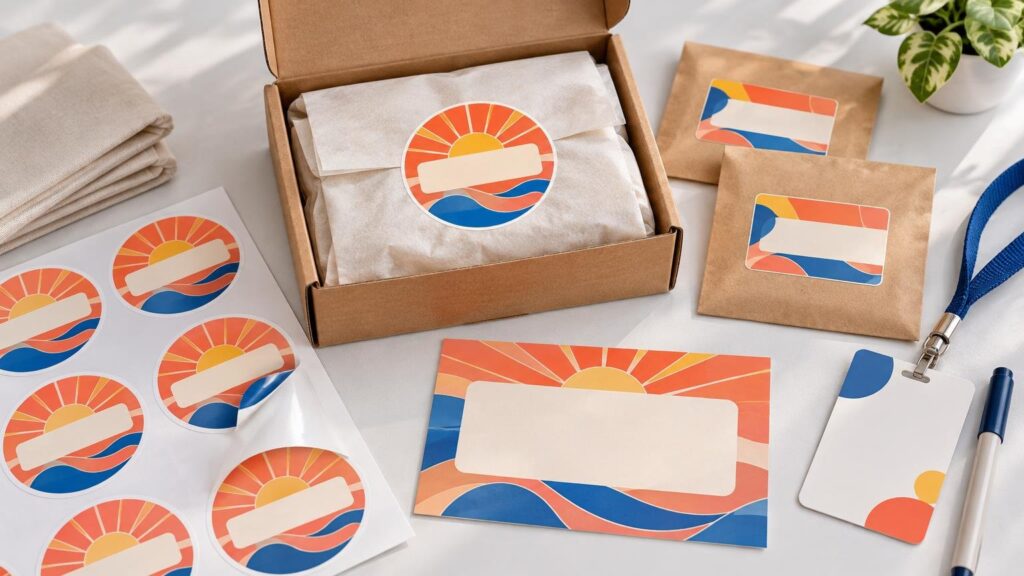
Packaging labels can do work that a general giveaway cannot. On a sample pouch, box, bottle, or folder, a label can identify the product, variant, demonstration number, or next step. It can also help booth staff avoid handing the wrong sample to a visitor.
Match the label to the package rather than treating every adhesive product as interchangeable. Consider the surface shape, surface texture, handling, moisture exposure, application method, and available flat area. A label wrapped around a tight curve faces different demands from a giveaway sticker placed on a laptop or notebook.
When comparing options for custom stickers, labels, materials, and artwork preparation, provide the intended surface, finished size, quantity, and event deadline. Ask the printer to confirm material suitability, proofing steps, production timing, and delivery timing for that specific order instead of relying on a general promotion or homepage claim.
Make QR codes useful and measurable
A QR code needs a reason to be scanned. Link to a concise destination that matches the booth conversation: a specification sheet, demo booking page, sample request, installation video, or show-specific resource. Sending visitors to a generic homepage adds friction.
Use a campaign-tagged URL when you want to distinguish trade-show visits from other traffic. Google Analytics explains that UTM parameters can identify campaign source, medium, campaign, and optional content values. The optional content field can distinguish two sticker designs or calls to action that point to the same page. Google’s campaign URL documentation describes the available parameters.
Print quality still controls whether the code can be captured reliably. GS1’s 2D-code guidance emphasizes sizing, contrast, consistent modules, clear surrounding space, and protection from damage. It also warns that glossy surfaces and altered code elements can create readability problems. Its retail specifications are not universal rules for marketing QR codes, but the production principles are useful. Review the GS1 2D-code guidance and follow any requirements from the QR platform and printer.
Test more than the artwork preview. Scan a physical proof or production sample with multiple phones, under ordinary booth lighting, from realistic distances. Then verify that the destination loads, works on mobile, and records the expected campaign data. Barcode verification alone does not validate the web destination or user experience.
Plan distribution and follow-up together
Stickers are portable and can be convenient for attendees who are traveling, but portability does not prove campaign impact. Decide who receives each item and what booth behavior triggers the handoff. A general giveaway can sit at the booth edge, while a premium sticker pack or sample label might be reserved for demonstration participants or qualified prospects.
Budget beyond the quoted unit price. Printing, shipping, event material handling, and show storage can all affect the real cost of a giveaway. Also account for damaged extras, staff samples, pre-show promotion, and post-show packages.
After the event, use the sticker campaign as a segmentation clue rather than as a substitute for contact. Follow up with the resource or action promised at the booth. Compare scans, landing-page behavior, sample requests, or booked meetings with the distribution count, while remembering that unscanned brand stickers may still have been kept or displayed. Avoid claiming return on investment unless the campaign data supports it.
Final ordering checklist
- Define one primary objective and audience for each sticker design.
- Confirm the organizer and venue permit the planned adhesive giveaway.
- Choose a size and shape that keep the main message readable.
- Match packaging labels to the container, surface, and environment.
- Prepare artwork at final size using the printer’s bleed and safe-area specifications.
- Keep QR codes high contrast, unobstructed, and surrounded by clear space.
- Test the printed QR code and its mobile destination separately.
- Use campaign parameters when scan attribution matters.
- Review the proof for dimensions, spelling, cutline, borders, and small text.
- Confirm production and delivery timing for the actual order and event date.
- Budget for freight, handling, storage, and spare inventory as well as printing.
Trade show stickers work best as small, deliberate parts of the booth experience. Give each design a specific role, engineer the artwork for its physical size, and connect distribution to a measurable next step. That produces a more useful campaign than ordering a large pile of stickers and hoping people remember where they came from.
References
- Purposeful Premiums
- Print resolution for images in Photoshop | Photoshop
- Designing for print versus screen: a full guide | Adobe
- URL builders: Collect campaign data with custom URLs – Analytics Help
- 2D Barcodes at Retail Point-of-Sale Implementation Guideline
- Implementation Guideline
- Giveaways
- The 12 Dumbest Things to do With Giveaways