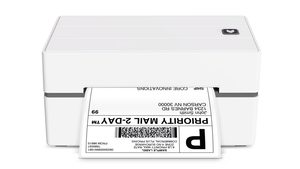
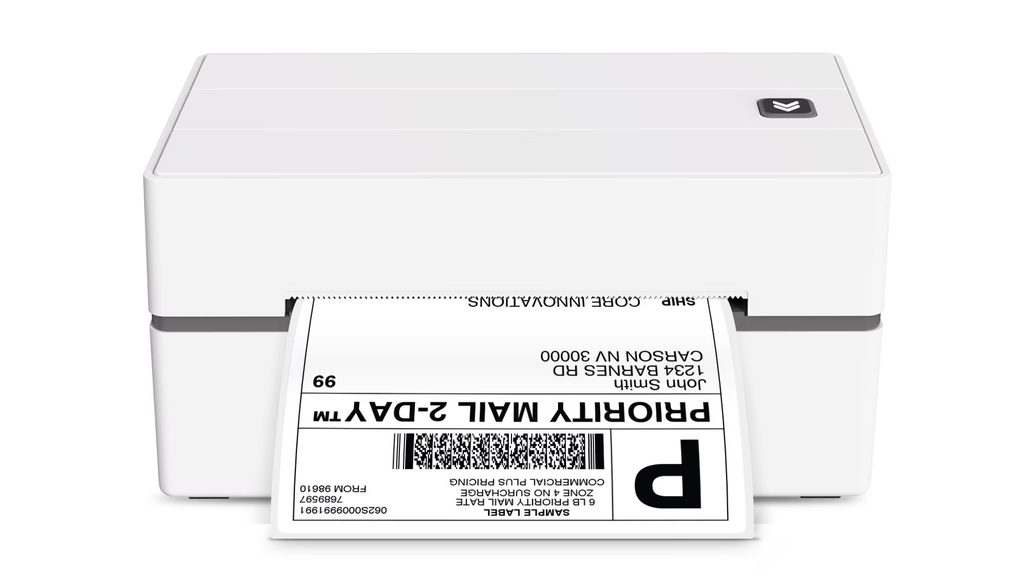
A shipping label printer can do more than put an address on a box. Give it a bold drawing, a shop name, or a two-line thank-you message, and it can turn the same peel-and-stick stock into packaging stickers. The trick is getting three things to agree. Check the label you loaded, the size of your design, and the page size in the print settings.
First, check the model number. Core Innovations lists its shipping label printer as CTP800BD. I couldn’t verify a model called CTP880BD in its product or driver listings. The steps below are for the CTP800BD. If the label on your machine actually reads CTP880BD, use the manufacturer and model printed there to find its instructions.
What Kind of Stickers Can the CTP800BD Print?
The CTP800BD is a 203 dpi direct thermal printer. Its printhead heats selected dots on specially coated label stock to form a dark image. On standard white thermal labels, that gives you black artwork on a white background. There’s no ink cartridge to buy, and choosing a color in your design software won’t make that color appear on the sticker.
That suits a handmade soap business that wants its name and a small leaf logo on outgoing boxes. It also works for drawer labels, price stickers, and event name tags. A watercolor logo or family photo is a different job. If the color is what makes your design recognizable, PrintingRay’s guide to printing stickers at home covers the inkjet and laser options.
Load the Thermal Labels With the Printable Side Up
Start with the labels supplied with the printer if you still have them. They give you a known starting point while you learn the controls. For replacements, look for adhesive-backed direct thermal labels compatible with the CTP800BD. Regular inkjet sticker sheets and thermal transfer labels both have adhesive backs, but they need different printing equipment.
- Connect the supplied power adapter and switch on the printer. Leave space behind it so the labels can feed straight in.
- Use the release tabs on both sides to open the cover. Feed the strip in from the back with the peelable label face up and its backing underneath. Leave the labels attached to the backing.
- Close the cover. Hold the feeder button until the printer beeps, then release it and let the label advance. You’re ready to send a test design.
Print a Sticker From Your Phone With CorePrint
Get CorePrint through the links on the Core Innovations driver and app page. Some older quick-start guides call the app InstaPrint. CorePrint is the app the manufacturer currently lists for the CTP800BD. Turn on Bluetooth and make the connection inside the app.
- Open CorePrint and tap Auto Connect. Choose Shipping Printer, the option marked CTP800BD, and confirm. Select the nearby printer when prompted.
- Open New Label. Choose the shape of the physical label and enter its width and height. For a 4 × 6-inch shipping label, enter 4 inches wide and 6 inches high. Check the orientation in the preview, then tap Create.
- Add your text or artwork. For a first print, try your shop name in plain black type with a simple symbol underneath. Keep both a little way inside the edge.
- Set the quantity to one and print. Peel the sample and put it on an actual box or bag. That gives you a better sense of the lettering size than looking at a zoomed-in phone screen.
Print a Sticker PDF From Windows or Mac
For an existing design or PDF, the computer route gives you control over its physical size. Download the CTP800BD shipping printer driver for Windows or macOS from Core Innovations. Install it, connect the printer with the included USB cable, and select CTP800BD in your print dialog.
Set the document page to the size of one physical label before exporting your PDF. For example, to put a 2-inch logo in the middle of a 4 × 6-inch label, make a 4 × 6-inch page and place the 2-inch logo on it. Select 4 × 6 in the printer settings and print at Actual Size or 100%. You get a 2-inch logo on a 4 × 6-inch sticker. If you want the sticker itself to be smaller, use compatible smaller labels and change the page dimensions to match.
A common mistake is placing that logo on a Letter-size page and choosing “Fit” to squeeze everything onto a shipping label. The print dialog scales down the page margins along with the artwork. If the preview shows a tiny logo floating in a sea of white, go back to the source document and check the page dimensions before changing the printer settings.
Get Sharper Text and Artwork at 203 DPI
At 203 dots per inch, a 2-inch-wide design spans about 406 printed dots. If you have the original logo file, use it. Enlarging a 90-pixel thumbnail to 406 pixels also enlarges its rough edges. A clean black silhouette generally holds up better than a small photograph, particularly if the subject has dark hair against a dark background.
For a thank-you sticker, start with one readable line of type and a simple mark. Print it, then look at the smallest letters from the distance a customer would hold the package. If the little openings in letters like “a” and “e” fill in, give the text more room or choose a less heavy font. Increasing the contrast can make those details close up even further.
Why Your Sticker Comes Out Blank or Off-Center
A blank label feeds through. Check the label face and the stock first. The backing can travel through the printer just as easily as the printable side. Reload a known direct thermal label face up, then send a fresh design containing one large black word. That simple test helps separate a media issue from a problem with the original artwork.
The print is faint. If the test word prints clearly but your logo looks pale, check the artwork for gray lines or low opacity. If both come out faint, Core Innovations recommends adjusting contrast in CorePrint. Change it one step and print the same test again so you can see what improved.
The image is sideways, clipped, or off-center. Measure one label and compare it with the preview. A 4 × 6 layout and a 6 × 4 layout use the same numbers but put the long edge in different directions. On a computer, check both the PDF page size and the size selected for the printer.
Your phone can’t find the printer. Core Innovations says the printer can connect to one smart device at a time. Disconnect the phone or tablet that last used it, open CorePrint on the device you want to use, and run Auto Connect again.
CTP800BD Sticker Printing FAQs
Can I use ordinary sticker paper in the CTP800BD?
Use compatible adhesive-backed direct thermal labels. Ordinary sticker paper needs ink or toner to form an image. A sheet can have a peel-off backing and still be the wrong material for this printer.
Can I make waterproof stickers for water bottles?
For a bottle that gets washed and carried outdoors, I’d choose laminated vinyl made for that use. Even when thermal label stock resists moisture, heat, sunlight, and rubbing can affect the printed image.
How do I know my settings are right before printing a batch?
Print one sticker, peel it, and apply it where it will be used. Check the size, the smallest line of text, and the space around the edges. Once that sample looks right, save the layout and increase the copy count.